General Information : PIM Analyzer (Option 419) : Limit Menu

Limit Menu
Key Sequence: Shift > Limit (6) key
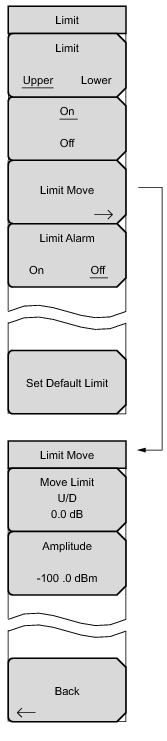
Two types of limit lines can be specified, lower limit lines and upper limit lines. Limit lines can be used for visual reference only or for pass/fail criteria. By using save-on-event, a signal that exceeds a limit line can be automatically saved. See the Anritsu handheld instrument User Guide for details.
This submenu key selects which limit line (Upper or Lower) will be active for editing. The limit line that is currently selected for editing is underlined.
Pressing this submenu key sets the default limit line value, which is a limit whose position is 2.5 grid lines from the top of the screen (for the upper limit line) or 2.5 grid lines from the bottom of the screen (for the lower limit line), depending upon which limit is active. The inactive limit line is not altered.
Use this submenu key to move the limit line. Use the keyboard to enter the desired value. The limit line can also be moved by using the rotary knob. Turn the rotary knob clockwise to move the line to higher power levels. The Up/Down arrows move the limit line by 5% of the screen height. The Left/Right arrows move the limit line by 0.2% of the screen height or 0.2 dB when the scale is set to 10 dB/division.
Pressing this submenu key to move the limit line to a specific dBm value. Use the arrow keys, the rotary knob or the numeric keypad.
Pressing this submenu key toggles the alarm function ON and OFF for the Upper limit line. When ON, the measurement text will display in red and an audible alarm will sound when the upper limit is exceeded. The Limit Alarm does not function with the lower limit line.


Copyright 2010 Anritsu Company
Anritsu Company
1-800-ANRITSU
10450-00024, Rev. B
mmdtechpubs@anritsu.com