Please refer to the User Guide for your instrument for directions about selecting the Power Meter mode and file management.
Press the Freq main menu key to set the desired frequency. Choose whether to set frequency parameters manually or to select a signal standard.
Choose the appropriate submenu keys and enter the start and stop frequency, the center frequency, and the span.
Press the Signal Standard submenu key and select the channel (and Uplink or Downlink) or select the full band.
|
1.
|
Press the Amplitude main menu key.
|
|
2.
|
Press the Max submenu key and set the upper scale value. Press the Min submenu key and set the lower scale value.
|
Press the Auto Scale submenu key to adjust the range automatically.
The power reading can be displayed in dBm, dBV, dBmV, dBμV, Volt, or Watt. Use the following procedure to change the displayed units:
|
1.
|
Press the Amplitude main menu key.
|
|
2.
|
Press the Units submenu key and select the display units.
|
|
3.
|
|
1.
|
With the desired base power (reference) level connected to the input of your instrument, press the Amplitude main menu key.
|
|
2.
|
Press the Relative submenu key.
|
|
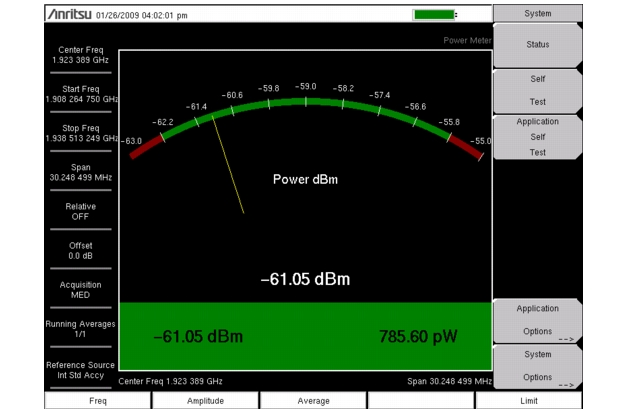
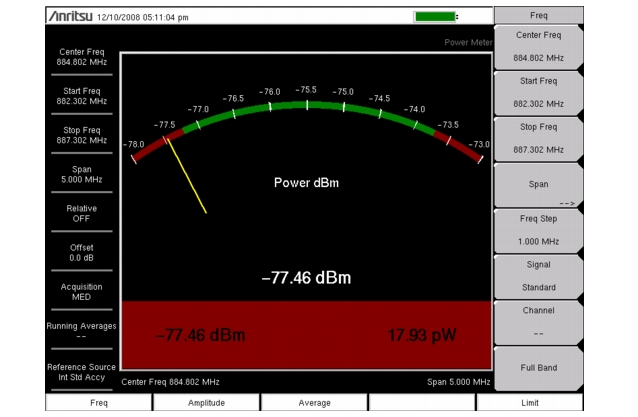
Screen captured images (Figure: “Power Meter Display, Passed” and Figure: “Power Meter Display, Failed”) are provided as examples. The image and measurement details shown on your instrument may differ from the examples in this measurement guide.
|
|
1.
|
|
2.
|
Press the Upper Limit submenu key and use the directional arrow keys, the key pad, or the rotary knob to set the desired upper limit. Then press Enter.
|
|
3.
|
Press the Lower Limit submenu key and use the directional arrow keys, the key pad, or the rotary knob to set the desired lower limit. Then press Enter.
|
|
4.
|
 |
 |