Please refer to the User Guide for your instrument for directions about selecting the Power Meter mode and file management.
Setting Frequency Span
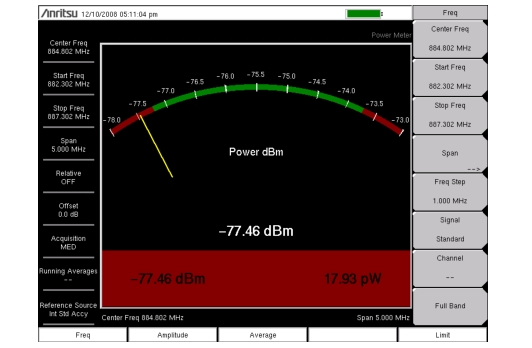
Press the Freq main menu key to set the desired frequency. Choose whether to set frequency parameters manually or to select a signal standard.
Select Manually
Choose the appropriate submenu keys and enter the start and stop frequency, the center frequency, and the span.
Select a Signal Standard
Press the Signal Standard submenu key and select the channel (and Uplink or Downlink) or select the full band.
Select a Frequency Offset
A user defined frequency offset feature can be enabled on supported Anritsu models to offset the frequency displayed on the instrument from the actual swept frequency range. When enabled, the Center Freq, Start Freq, and Stop Freq keys will indicate that a frequency offset has been set (Figure: 200 MHz Frequency Offset Example). To create a frequency offset, press the Step Size & Offset submenu key and select Freq Offset.
Setting the Amplitude
1. Press the Amplitude main menu key.
2. Press the Max submenu key and set the upper scale value. Press the Min submenu key and set the lower scale value.
or
Press the Auto Scale submenu key to adjust the range automatically.
Changing the Display Units
The power reading can be displayed in dBm, dBV, dBmV, dBμV, Volt, or Watt. Use the following procedure to change the displayed units:
1. Press the Amplitude main menu key.
2. Press the Units submenu key and select the display units.
3. Press the Back submenu key to return to the Amplitude menu.
Displaying Relative Power
Use the following procedure to select Relative Power through the Amplitude menu.
1. With the desired base power (reference) level connected to the input of your instrument, press the Amplitude main menu key.
2. Press the Relative submenu key.
Note
Relative power is displayed in dB.
Setting Pass Fail Limits
Maximum and minimum limits can be set as follows:
1. On your instrument, press the Limits main menu key, or press the Shift key, then the Limit (6) key.
2. Press the Upper Limit submenu key and use the directional arrow keys, the key pad, or the rotary knob to set the desired upper limit. Then press Enter.
3. Press the Lower Limit submenu key and use the directional arrow keys, the key pad, or the rotary knob to set the desired lower limit. Then press Enter.
4. Set the Limit submenu key to On to activate the Limit features.
If the measured power is between the limits, then the measurement is displayed in green.
Power Meter Display, Passed
If the measured power is not between the limits, then the measurement is displayed in red.