 |
Caution | Use only Anritsu-approved batteries, adapters, and chargers with this instrument. When using the automotive cigarette lighter adapter, always verify that the supply is rated for a minimum of 75 watts @ 15 VDC, and that the socket is clear of any dirt or debris. If the adapter plug becomes hot to the touch during operation, discontinue use immediately. Anritsu Company recommends removing the battery for long-term storage of the instrument. |
Note | The batteries will charge at a faster rate when the instrument is turned off. To prolong the useful battery life, the internal charging circuit monitors the battery temperature. Normal charging occurs when the battery temperature is between 0 °C and 45 °C. Charging is paused if the internal battery temperature is outside this range. In order to maintain the battery capacity and to keep the remaining capacity indicator (found in the Battery Information dialog) as accurate as possible, it’s recommended to run the through a recalibration cycle on the external battery charger every three months. Refer to the product technical data sheet for ordering information. |
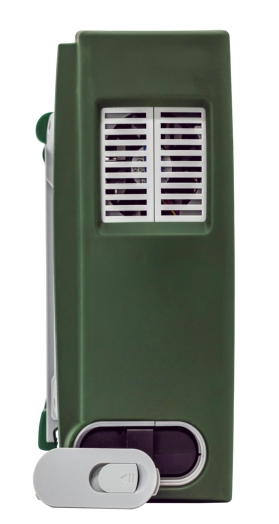
Note | When inserting the battery, the battery contacts should face up and slide in first. If the battery door does not close tightly, the battery may be inserted incorrectly. |
 |