VNA Master™ User Guide Model MS20xxC Vector Network Analyzer with Spectrum Analyzer : More About DHCP : Ethernet Configuration
 
Ethernet Configuration
LAN Connection
The RJ‑45 connector is used to connect the VNA Master to a local area network. Integrated into this connector are two LEDs. The amber LED shows the presence of a 10 Mbit/s LAN connection when on, and a 100 Mbit/s LAN connection when off. The green LED flashes to show that LAN traffic is present. The instrument IP address is set by pressing the Shift key, then the System (8) key followed by the System Options submenu key and the Ethernet Config submenu key. The instrument Ethernet address can be set automatically using DHCP, or manually by entering the desired IP address, gateway address, and subnet mask.
Note 
An active Ethernet cable must be connected to the instrument before it is turned ON in order to enable the Ethernet port for DHCP or for a static IP address.
Depending upon local conditions, the port may remain enabled when changing from DHCP to static IP address, when changing from static IP address to DHCP, or when temporarily disconnecting the Ethernet cable.
If the port becomes disabled, then ensure that an active Ethernet cable is attached to the instrument before cycling the power OFF and back ON.
Dynamic Host Configuration Protocol (DHCP) is an Internet protocol that automates the process of setting IP addresses for devices that use TCP/IP, and is the most common method of configuring a device for network use. To determine if a network is set up for DHCP, connect the MS20xxC to the network and select DHCP protocol in the Ethernet Config menu.
Turn the VNA Master off, and then on. If the network is set up for DHCP, then the assigned IP address should be displayed briefly after the power up sequence.
To display the IP address with the instrument on, press the Shift key, then the System (8) key, then the System Options submenu key and the Ethernet Config submenu key. The IP address will be displayed as shown in Figure: IP Address Assigned Using DHCP. The image on the display panel of your VNA Master may differ from the image shown here.
IP Address Assigned Using DHCP
 
Ethernet Config
Press this submenu key to display the Ethernet submenu and to open the Ethernet Editor dialog box in order to set the IP address of the instrument.
Setting IP Address Manually
 
Ethernet Menu
Key Sequence: Shift, System (8) > System Options > Ethernet Config
Ethernet Menu
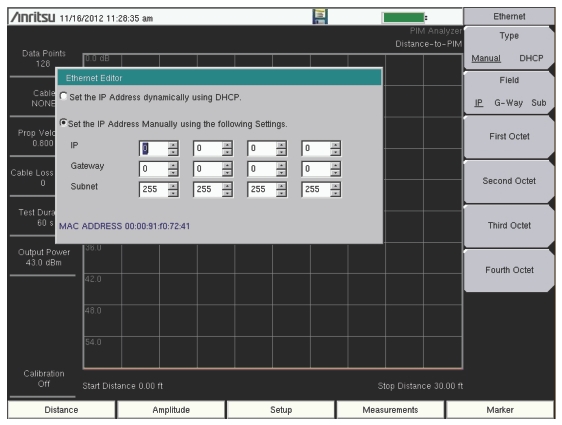
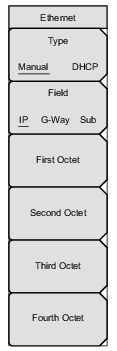
Type
Manual DHCP
Press this submenu key to select whether the address will be entered manually, or will be supplied automatically by a network DHCP server. If Manual is selected, then use the submenu keys or the Left/Right arrow keys to select the field that is to be modified. Use the keypad, the Up/Down arrow keys, or the rotary knob to enter the input. Press Enter to accept the changes, or press the Esc key to return to normal operation without changing anything.
Field
IP G‑Way Sub
Press this submenu key to select the desired Internet Protocol Property to be edited.
First Octet
Moves the cursor to the left most column of the selected IP properties field.
Second Octet
Moves the cursor to the second column from the left of the selected IP properties field.
Third Octet
Moves the cursor to the third column from the left of the selected IP properties field.
Fourth Octet
Moves the cursor to the fourth column from the left of the selected IP properties field.