Anritsu strongly suggests that a passenger be available to accompany the driver to assist with the navigational instruction. Use the Voice Prompts and/or Audio Tones to minimizing glances at the display.
Start MIH in Scan Drive mode at a location where you know an interference problem occurs, such as a base station that is having interference problems. Obtain the interferer signal from your starting location, drive in the direction of the signal. In the Power vs. Time display, observe the increase or decrease in signal level. If the signal level decreases over time, most likely you are driving away from the signal source. If the signal level increases over time, you are probably heading in the direction of the signal source.
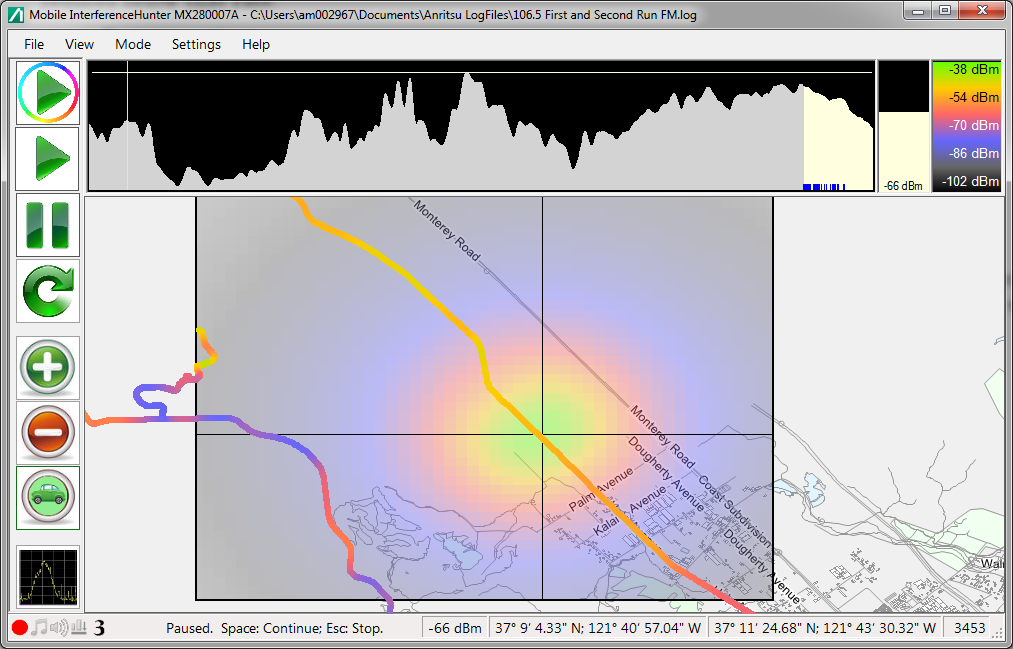
Use the breadcrumb color and size to indicate the relative location of the emitter as well as the heat map color shading. A large yellow breadcrumb generally means higher signal power suggesting you are closer to the source. A small dark breadcrumb means low signal power and that you are probably far from or driving away from the signal source. Darker shaded areas of the heat map indicate stronger signals.
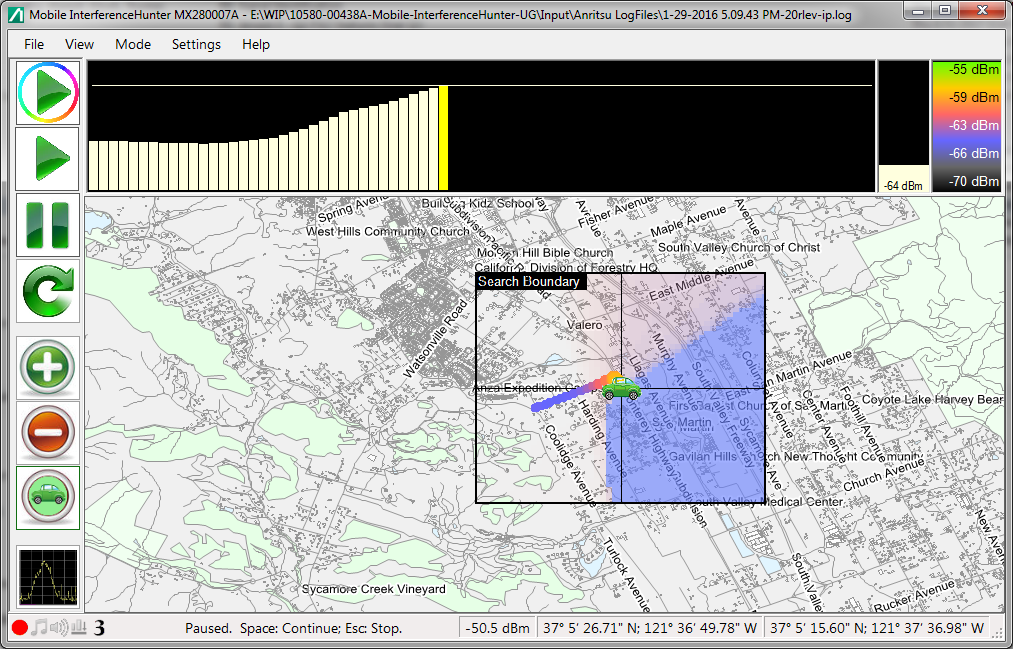
The example below is from Scan Drive mode showing that you are driving toward the signal. Note that MIH will only scan out to the Search Boundary, the size of which is set via Settings | Search Grid Width.
Approaching the Interferer
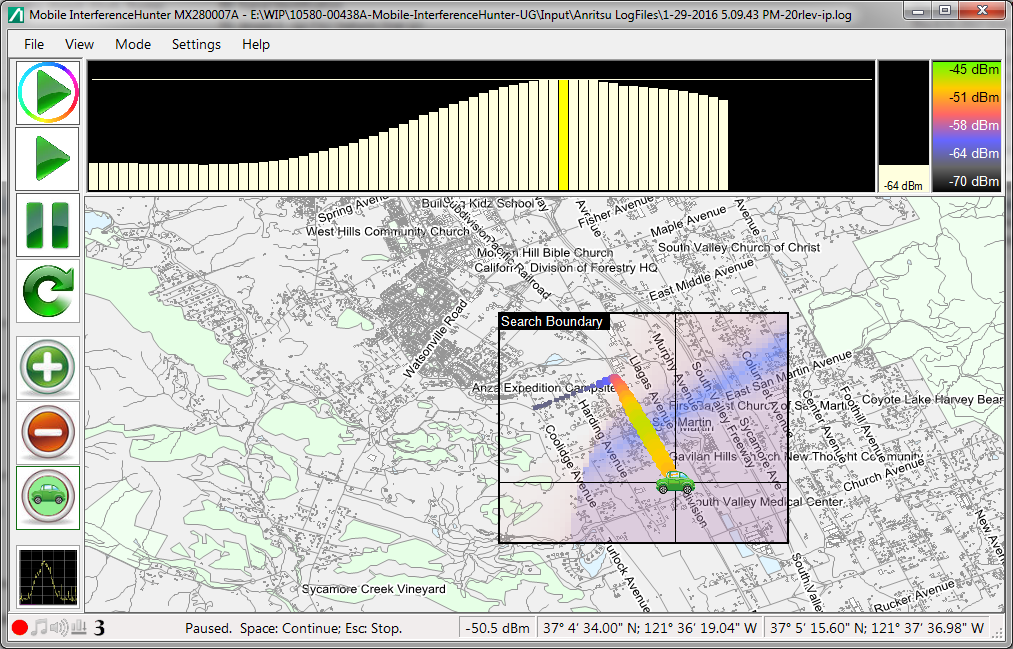
The example below is showing that you have driven past the signal and have isolated a general area of where the interferer could be, shown by the darker shaded region. The next step is to circle around the shaded area to continue narrowing it down into a smaller circle before switching to Spot mode.
Isolating the Interferer
Once you have isolated the general area, switch to Spot mode to further isolate the signal and start collecting signal data.
Pinpointing the Interferer
As more data is collected, a green arrow will show on the map pointing you in the general direction of the signal source. A shadow circle replaces the arrow and will appear on the map as additional data is accumulated. The shadow circle is the general area where the signal is coming from. Its initial size may be large but will decrease in size as you get closer to the signal source and the power level of the interferer increases.
At times you may want to park and evaluate the data received. Once a very close approximation on location has been established, get out of the vehicle and proceed on foot with a handheld instrument and directional antenna to find the exact emitter location.