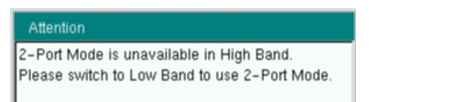
l l | Carrier F1 Press this submenu key and enter the desired frequency using the number keypad or the Arrow keys. Enter a frequency within the acceptable range by referring to Table: PIM Master Carrier Bands and Frequencies. Carrier F2 Press this submenu key and enter the desired frequency using the keypad or the Arrow keys. Enter a frequency within the acceptable range by referring to Table: PIM Master Carrier Bands and Frequencies. Intermod Order 3rd 5th 7th Select the 3rd, 5th, or 7th order of intermodulation. If the selected F1 and F2 do not produce the desired IM product, the PIM Master automatically changes F1 and F2 to factory default frequencies that will generate an in‑band IM product. F1and F2 can be further adjusted if desired. This submenu key is not displayed when using Option 600 or 902. 2-Port Low Band Selects the 2-Port mode when On and hides the Band Select key from view. Band Select High Low This key is visible in 1-port mode (2-Port Low Band Off). Press this submenu key to toggle the band selection to High or Low. This submenu key appears only on instruments with multiple receive ranges (see buttons below menu at left). For Option 194, the toggle choices are PCS and PCS/AWS. For Option 600, the toggle choices are 1900 MHz and 600 MHz. For Option 902, the toggle choices are IM2 and GSM. PIM Aid Press this submenu key to display the PIM Parameters dialog box (see Figure: PIM Parameters Dialog Box. This dialog box allows editing of the current carrier frequencies and carrier power. It also displays the intermodulation products generated by the carrier frequencies. |