Press the Menu key to display the Menu Key Screen, a grid of icons for installed measurement modes and shortcuts to user‑selected menus and setup files.
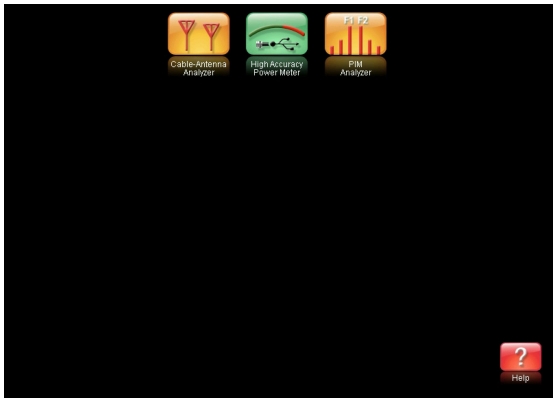
Figure: Menu Key Screen, Icons for Installed Measurements shows the Menu key screen without any user shortcuts. Touch one of the icons in the top two rows to change modes. The icons that are shown here are preinstalled and cannot be moved or deleted. The display of the Menu screen will vary depending on instrument model, firmware version, and installed options. The image in Figure: Menu Key Screen, Icons for Installed Measurements may differ from the menu on your instrument.
Menu Key Screen, Icons for Installed Measurements
Note
The High Accuracy Power Meter icon is present only if Option 19 is installed. See Other Documents for information about this publication.
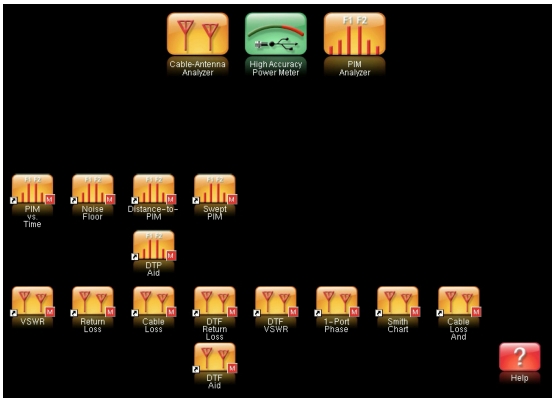
Press and hold down any key for a few seconds to add a shortcut to this screen. For example, to create a shortcut for PIM versus Time measurements, open the PIM Master Measurements menu and hold down on the PIM vs. Time submenu key for a few seconds. The PIM Master displays a grid (occupied locations show their shortcut), then select the location for the shortcut. The display of the Menu screen will vary depending on instrument model, firmware version, and installed options. The image in Figure: Menu Key Screen, Icons for Installed Measurements and Shortcuts may differ from the menu on your instrument.
Menu Key Screen, Icons for Installed Measurements and Shortcuts
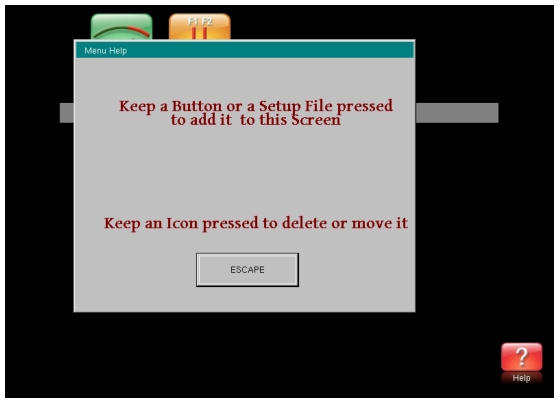
User‑defined shortcuts stay in memory until deleted. To delete or move a shortcut button, press the Menu key, then press and hold the shortcut for approximately three seconds. The Customize Button dialog box opens to allow a button to be deleted or moved. Press Esc to exit the Menu shortcut display.
Note
The Master Reset will delete all user‑created shortcut icons from the Menu screen. Refer to the Reset Menu for additional information.
To retain shortcuts during a firmware update, select the "Save & restore user data" option shown in Figure: Firmware Update Menu.
Help for the Menu shortcut screen is available by pressing the question mark icon in the lower‑right corner of the display.