When using the Vision programs and setting frequency parameters, the maximum frequency setting Vision provides is the maximum allowed on the measuring instrument up to 54 GHz. Vision does not verify the maximum input frequency range of the measuring instrument.
An Example Using the Vision API
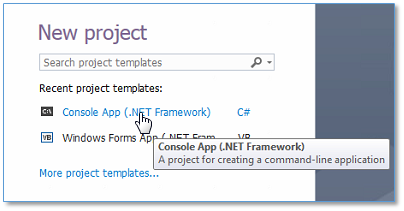
1. Create a new project in Visual Studio.
a. The project shown below is a Console Application written in C#.
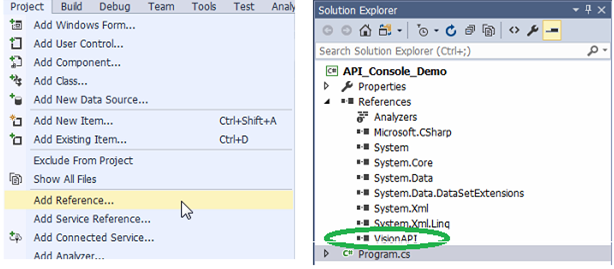
2. Add a reference to Vision API.
a. From the Project menu select the Add Reference… option.
b. Select Browse and then locate to add the VisonAPI.dll. This will be found in the Vision Application folder. If you used default installation options, locate C:\Program Files (x86)\Anritsu Company\Vision Remote Monitoring
c. In Solution Explorer, verify that the VisionAPI is listed under References for your project.
3. Add code to access the VisionAPI functions. (You can cut and paste the code below to try the example shown.)
a. Add ‘using VisionAPI’ to simplify references.
b. Declare an object to reference the API library you want to use. In the code example below, Example - Vision API Console Demo, this is done with ‘RSM probe = new RSM();’
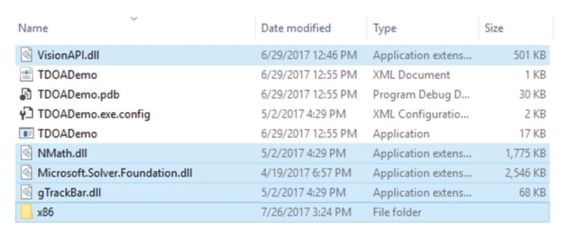
c. Refer to Figure Figure: NMath.zip files below. Add the files highlighted in blue with NMath.dll for NMath to execute properly.
NMath.zip files
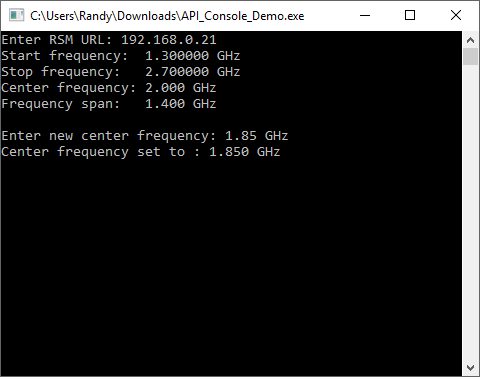
d. Use the new object to access properties and methods in the API. In the example code below:
• Frequency parameters are read from the remote spectrum monitor and displayed.
• A new center frequency is read from the command line and sent to the target receiver.
• The new value is displayed to show that the target receiver has been set as directed.
Console.WriteLine("Center frequency set to: " + probe.CenterFrequency);
Console.ReadKey();
}
}
}
4. Compile and run the application. The example is a console application. Below is shown the screen when this is executed.
Vision API Console Demo
Vision API User Controls Examples
Three Visual Studio example projects are installed on your PC during the installation of Vision. With the default installation options these three projects are located in C:\Program Files (x86)\Anritsu Company\Vision Remote Monitoring\ Vision API Examples.
These example projects can be opened with Visual Studio 2010 or later, including express versions of Visual Studio.