 |
|
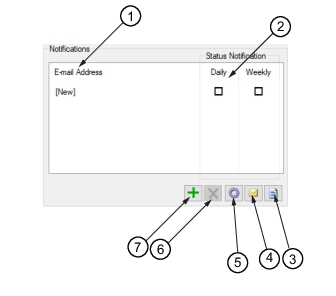 | |
1. Email Address Field 2. Email Reporting Duration 3. Generate Status Report 4. Send Email | 5. Gear Icon 6. Delete Email 7. Add New Email |
Icon | Description |
Generate Status Report: A report titled Vision Monitor Failure and Status Report is generated and placed in the default browser. | |
Send Email to Selected Address: Click to immediately send an email to the listed email recipients with the list of traces in the database. | |
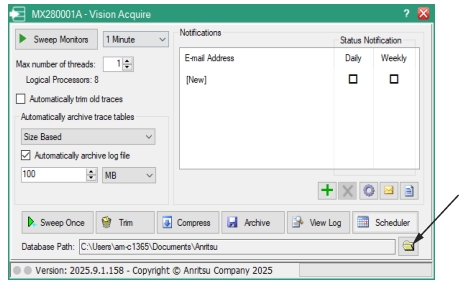
 | Configure e-mail Click to open the Email Configuration dialog as shown below. Enter the Host name and Port Number of the email server. If the User Authentication box is checked, enter the User name and Password for the email account listed. Enter the email address in the E-mail Addr field. Make sure to enter valid email address, otherwise no email will be sent. If needed, refer to your IT administrator for assistance and the necessary information. 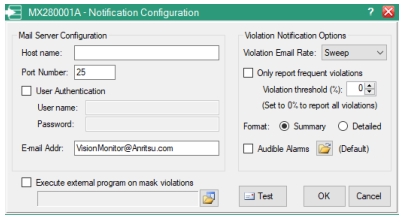 Violation Notification Options List provides the time interval the email notification will be sent. Violation E-mail Rate Send email violation notifications to recipients at the interval rate shown. 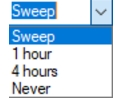 Sweep: Send email notification after every sweep. 1 hour: Send email notification after every 1 hour. 4 hours: Send email notification after every 4 hours. Never: Email notifications are not sent. Only report frequent Violations Click the check box and set the Failure Threshold % value so that trace mask violations report can be sent when the threshold exceeds the set value. Format Check the radio button as: Summary: Provides a summarized email list and reporting. See Figure: Vision Monitor Summary Violation Report. Detailed: Provides a detailed listing of the recipients and email reports. See Figure: Vision Monitor Detailed Violation Report. Audible Alarms Provides an audible alarm when a mask violation occurs. Test Click to display an Enter Recipient dialog as shown below. Adding an email and clicking OK will send a test email to verify email server configuration. 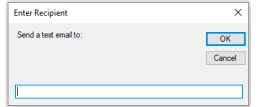 |
Delete an email address Click to delete an email address from the Notifications list. A prompt will display to confirm you want to remove the email from the list. Click Yes and the email is deleted. | |
Add new email address Click to add a new email to the Notifications list. A box containing [New] will be listed under the Email Address column. Type the email address into that box. |