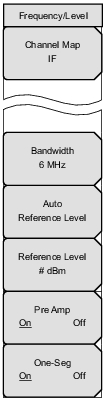
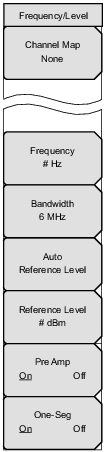
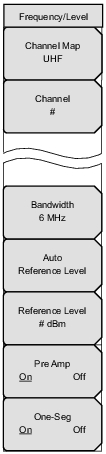
 | Channel Map Press this submenu key to open the Select Channel Map list box to choose one of four options: UHF, UHF (Brazil), IF, or None. Selecting UHF or UHF (Brazil) displays the Channel submenu key to select a channel and its corresponding frequency. Channel This submenu key is displayed only when Channel Map is set to UHF. Press this submenu key to open the Channel Editor dialog box. For UHF, the channel range is 13 to 62. For UHF (Brazil), the channel range is 14 to 69. Selection of a channel automatically sets the corresponding frequency. Bandwidth Press this submenu key to open the Select Bandwidth list box and manually select a bandwidth: 6 MHz or 8 MHz. Auto Reference Level Press this submenu key to automatically set the reference level at an optimal value. Refer to Auto Reference Level. Reference Level Press this submenu key to open the Reference Level Editor dialog box to manually select a signal reference value. If the Pre Amp submenu key is On, then the reference level range is from – 10 dBm to – 50 dBm in increments of 10 dB. If the Pre Amp submenu key is Off, then the reference level range is from – 25 dBm to + 20 dBm in increments of 5 dB. Pre Amp On Off Press this submenu key to toggle the Pre Amp setting to On and Off. The current state is underlined. When the preamplifier is switched On, the reference level is automatically set to – 30 dBm. When the preamplifier is switched Off, the reference level is set to – 25 dBm. Refer to the Pre Amp Warning. One‑Seg Press this submenu key to toggle the one‑segment view On or Off. You can view the One‑Seg Frequency Response measurement in Delay Profile or in Constellation and Sub-Carrier MER charts when the One-Seq submenu key is On. Refer to Figure: Modulation Analysis of Delay Profile, One‑Segment. |