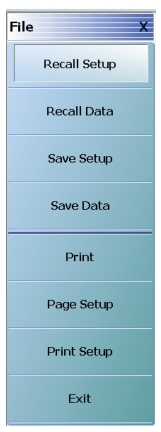
Use the Save Data button to save the active channel data in several different formats and different purposes. For example, save data as a TXT file for use in another application such as a spreadsheet or word processor. Note the TXT data cannot be imported back into the instrument. Available formats are:
Select prints the current main display to the default printer using a standard Windows PRINT dialog box. Print confirmation dialogs appear as the print job is spooled to the default printer. Note that the default printer and its configuration is set from the Windows Desktop using the PRINTERS AND FAX dialog box. If the VNA is standalone and not on a network, the attached printer is used. If the VNA is networked, any network printer can be used.
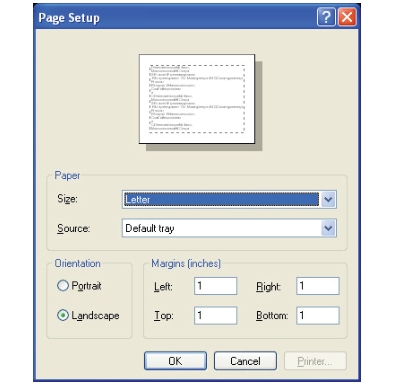
Page Setup
Select displays the PAGE SETUP dialog box where the paper size, margins, paper orientation, and other printer parameters can be set.
• MAIN | File | FILE | Recall Data | RECALL DATA Dialog Box
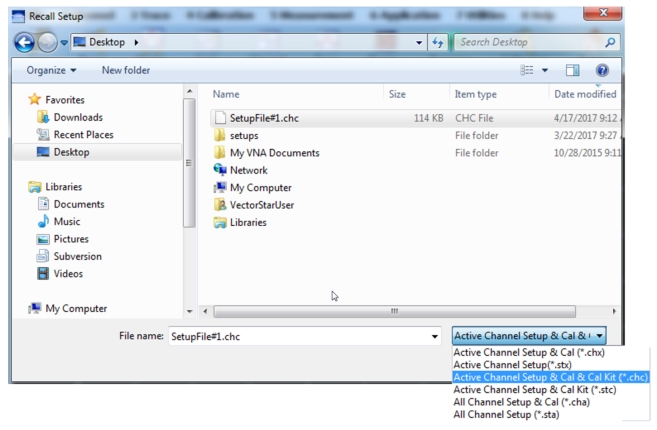
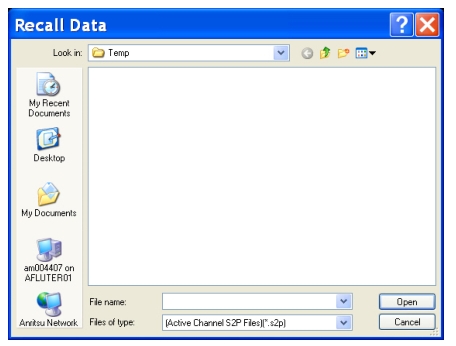
RECALL DATA Dialog Box
Instructions
Use this dialog to select a previously stored data configuration file. If the system is on hold, recall a TDF formatted file to overwrite the active trace memory. If system is not on hold, recall a TDF or TDU formatted file to overwrite the active trace memory. Note that the Active Channel TXT file cannot be imported back into the instrument.
Procedure
1. Navigate to the required folder and locate the required data file:
• Active Channel S1P files
• Active Channel S2P files
• Active Channel M2P files
• Active Channel CSV files
• Active Channel BMP files
• Active Channel PNG files
• Active Channel JPEG files
• Active Trace Data (Formatted) TDF files
• Active Trace Data (Unformatted) TDU files
2. Best practices recommend the C:\AnritsuVNA folder.
3. Once the appropriate file is selected, click Open.
4. The selected data file is applied depending on the file type.
• MAIN | File | FILE | Save Data | SAVE DATA Dialog Box
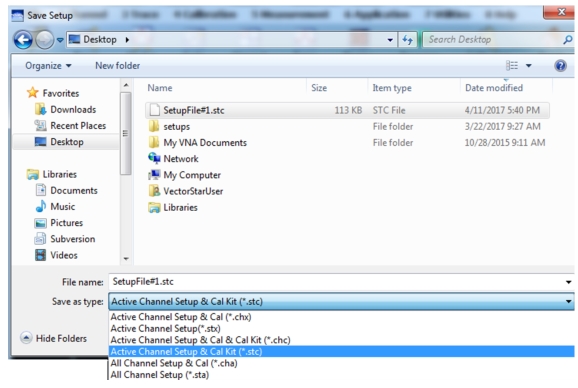
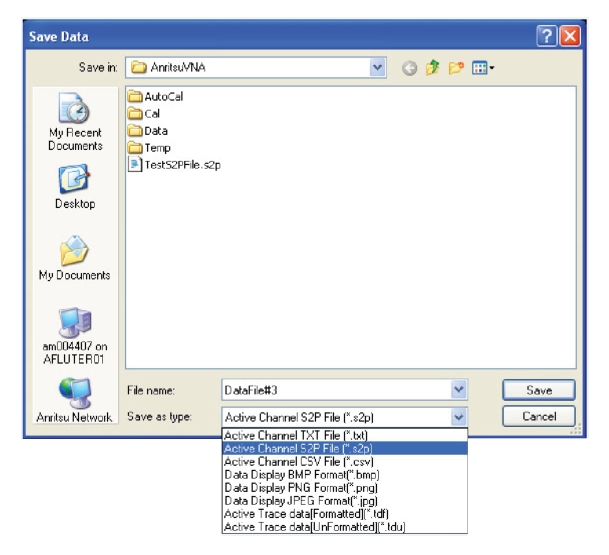
SAVE DATA Dialog Box
Note
Not all file data types are available in all application modes. For example, the S2P file type is not available for saving Pulse Profile or Pulse-to-Pulse data. The “Save as type” selection list automatically limits the available selections as appropriate for the current operating mode and data being saved.
Instructions
Use this dialog to save a data configuration file.
1. Navigate to the required folder.
• Best practices recommend the C:\AnritsuVNA folder.
2. Select the data file type from the pull-down menu:
• Active Channel TXT files
• Active Channel S1P files
• Active Channel S2P files
• Active Channel M2P files
• Active Channel CSV files
• Active Channel BMP files
• Active Channel PNG files
• Active Channel JPEG files
• Active Trace Data (Formatted) TDF files
• Active Trace Data (Unformatted) TDU files
3. Once the appropriate file type is selected, click Save.
Select displays the standard Windows Print dialog box to print the current main display.
• If the VNA is networked, allows printing to any compatible networked printer. If a USB printer is attached, allows printing to any compatible USB printer.
• If the Graphics Header information is configured, selecting PRINT outputs the display data along with any user-defined parameters. The graphics header setup outputs data when the Remote Interface Language is set to Lightning AND the Graphics Header is set to ON.
• If the header is set to OFF, no header is printed, and the standard PAGE SETUP and then the PRINT dialog are displayed.
• If the Remote Interface Language is set to Native or HP8510, no header is output, regardless of the header setting and the same PAGE SETUP and PRINT dialogs are displayed
The PRINT SETUP dialog box allows user configuration of various print output options described below.
Output Format
This button selection group allows three choices of print output:
• Bitmap with Page Setup
• Graphical
• Tabular
Header Output
The header output area provides control of which display elements are to appear on the output, and the contents of each.
Include Header
• When the check box is selected, all selected header elements below are included in the output type above. When the check box is not selected, no header fields are included in the output.
Model
• Typically the VNA Model Number, but it can be any alphanumeric string. It may be selected for inclusion in the output or not selected.
Device ID
• Typically the identification of the DUT, but it can be any alphanumeric string. It may be selected for inclusion in the output or not selected.
Operator Name
• Typically the identification of the test operator, but it can be any alphanumeric string. It may be selected for inclusion in the output or not selected.
Operator Comment
• Any free form comment from the test operator as alphanumeric strings. It may be selected for inclusion in the output or not selected.
Logo Setup
This area allows the inclusion of a logo on the output report. If not selected, the logo does not appear in the output.
Select Logo Type
• The output can be configured to output the Anritsu Logo or a user defined logo. If the user defined logo is selected, it must be added to the VNA system as a BMP (Bit Mapped Graphic) File to a known location on the VectorStar Solid State Drive (SSD).
• To load a user defined logo, copy the logo to a known SSD location. Then select the User radio button, and then browse to the logo location.
• The logo will remain until changed.
• If necessary, multiple logos can be added to the system and changed as needed.
 p
p p
p