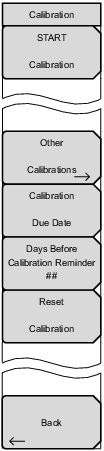
 | START Calibration Press this submenu key to begin calibrations for Distance-to-PIM (DTP), Swept PIM, PIM vs. Time, and Noise Floor - Time View for the current instrument settings. You will need a PIM standard and a Low PIM Load. Follow the on-screen prompts until the calibrations are complete. If you are performing a Noise Floor Spectrum View measurement, a separate calibration is required. Press the Start Cal Spectrum View button in the Noise Floor Menu, and then follow the on‑screen instructions to calibrate the Spectrum View (refer to the Other Calibrations Menu and the User Defined Calibration Dialog Box). Other Calibrations Press this submenu key to display the Other Calibrations Menu. Calibration Due Date Press this submenu key to enter the date (Day, Month, and Year) when your PIM Master requires calibration. Calibration Reminder Press this submenu key to display a Calibration Reminder notice in Days. You can use the number keypad to key in a new reminder duration. Press Esc or any other main menu key or submenu key to dismiss the reminder notice. Set to zero to disable. If calibration is due in less time than this setting, then the reminder notice is displayed when instrument power is turned On. Reset Calibration Press this submenu key to delete any saved calibration files that match the current instrument settings (power level, PIM Order, and so forth). These can be calibrations for any PIM analyzer function at the set power level. Back Press the Back submenu key to return to the previous menu. |