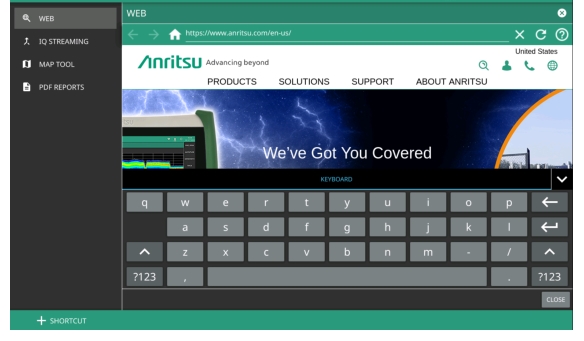
By default, the WEB tool launches the Anritsu company website. It allows you to search for any information related to your product and/or browse the Internet.
You can perform the following actions using the default company website:
• Select Help icon to view your product’s HELP set that includes the user documentation.
• Select the Home icon to visit the company website.
• Tap the Search icon to enter a keyword to search the company website.
• Select the Login icon to access your My Anritsu account or to create a new account.
• Select the Phone icon to contact the customer service, sales office or to learn more about Anritsu company.
• Select the Globe icon to choose the desired country/region.
• Select SUPPORT menu to access Training and Education link to learn more about your product.
.
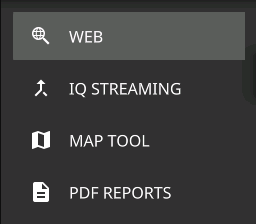
WEB Tool
IQ Streaming
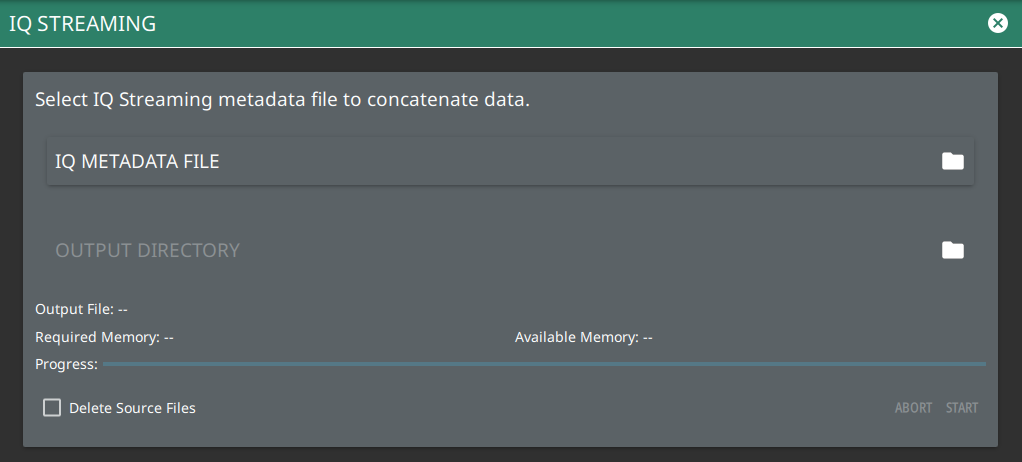
The IQ STREAMING menu allows you to concatenate an existing IQ metadata file (.dgzm) with a session of IQ data files (.dgz) that were streamed to a USB device after the stream operation is complete. The data files must all come from the same stream session.
IQ STREAMING TOOL
1. Select IQ METADATA FILE and then select the file that you wish to concatenate with IQ data streams. All of the data stream files in the selected directory will get concatenated with the metadata file.
2. Select the OUTPUT DIRECTORY and select the destination to store the concatenated files. Check the DELETE SOURCE FILES box if source files need to be deleted.
3. Select START to begin the concatenation. The progress bar will indicate the relative progress.
Note
Concatenating files can be time consuming depending on the streaming parameters and time. The process can be much faster if performed on a PC using the remote user interface. Refer to ARRT Software for details on using this application.
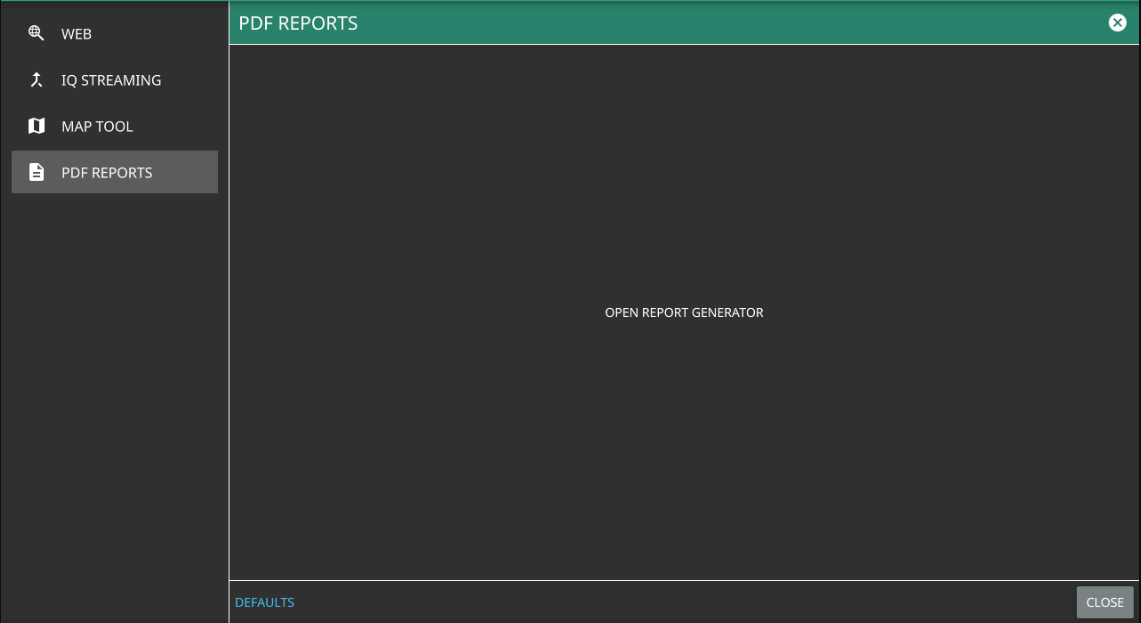
PDF REPORTS
The PDF REPORTS tool allows the user to generate a PDF report or HTML report.
1. Select OPEN REPORT GENERATOR to open REPORT GENERATOR – CONFIG window.
PDF Reports Tool
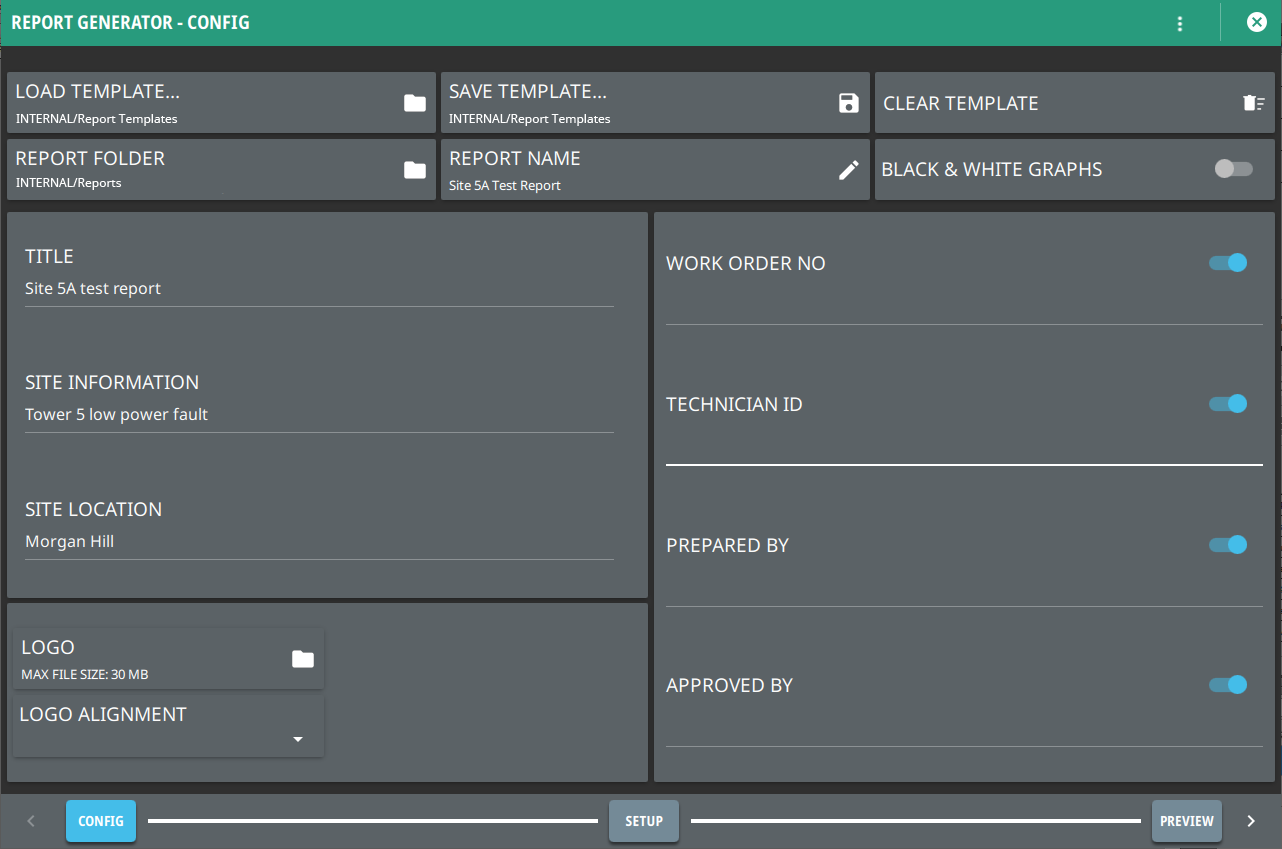
2. In REPORT GENERATOR – CONFIG window you can load a template to populate the given fields.
• Select LOAD TEMPLATE to use a customized template
• Select SAVE TEMPLATE to save the template.
• Select REPORT NAME to enter the name of the report.
• To have the traces in black and white, toggle on the BLACK & WHITE GRAPHS button.
• Toggle off the following buttons to exclude the information from the generated report:
• Work Order Number
• Technician ID
• Prepared By
• Approved By
• Select CLEAR TEMPLATE to delete the preloaded template.
Report Generator - Config Window
3. Select SETUP button in the bottom to add setup or trace files in REPORT GENERATOR - SETUP window.
• Select the blue + ADD FILE (S) button in the upper right to add image files (.png. jpeg, jpg, .fmcaausb) to the PDF report.
• To delete a file select the minus button next to the file name, alternately select CLEAR ALL.
• To include a specific note in your report, type the note into the text box located under the graph. Note that you need the select an image file before adding a note. Select SAVE NOTE button to save the note. Look for the green tick symbol in the lower right corner of the text box once the note is saved successfully.
Report Generator - Setup Window
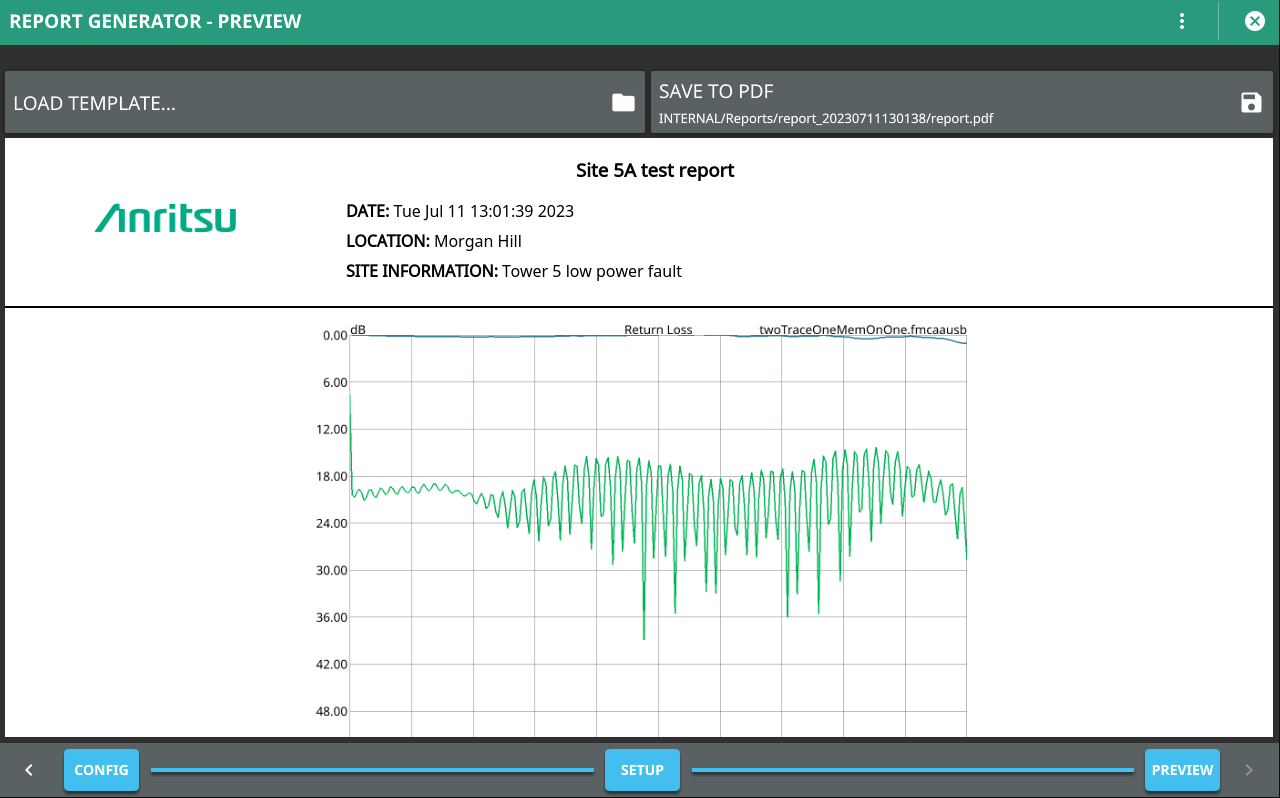
4. Select PREVIEW button to see the preview of the generated report in REPORT GENERATOR - PREVIEW window.
5. Select SAVE TO PDF button on the top to save the report internally in the REPORTS folder.
6. Select the 3-dot icon in the top right of the preview window to preview an internally saved HTML file or to capture a screenshot.
7. Select LOAD HTML PREVIEW to open FILE MANAGEMENT window. Select the HTML file and select OPEN button in the bottom right. If required, select SAVE TO PDF to save the HTML preview as a PDF file.