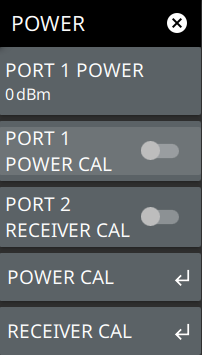
To access power calibration submenu, go to main menu, POWER > POWER CAL.
The objective of the power cal is to improve the accuracy of the power delivered to the device under test (DUT) beyond that provided by the factory ALC calibration (0.1 dB vs. on the order of 1 dB). This is useful if a preamplifier or other network is needed between the test port and the DUT. The exact loss/gain of that network over frequency can be corrected for. The power in this context refers to signal amplitude at the fundamental frequency. Power calibration in the VNA mode is a crucial step to ensure accurate measurement of the scattering parameters (S-parameters) of DUT. This process involves setting the correct power levels for the VNA signal output and measuring the resulting signals accurately.
POWER CAL Submenu
POWER CAL PORT
MS2085A/89A Site Master supports Port 1 only.
TARGET POWER
Sets the power level target for the flat power correction calibration on Port 1.
START CAL
Starts the power cal.
ABORT CAL
Cancels the power cal.
POWER Calibration
Follow the steps below to perform power calibration on Port 1:
1. Touch FREQUENCY on the main menu and adjust the start and stop frequency values according to the operating range of the USB power sensor.
2. Select POWER menu on the main menu.
3. Select POWER CAL submenu.
4. Select TARGET POWER to enter the target power to set reference to port 1 power.
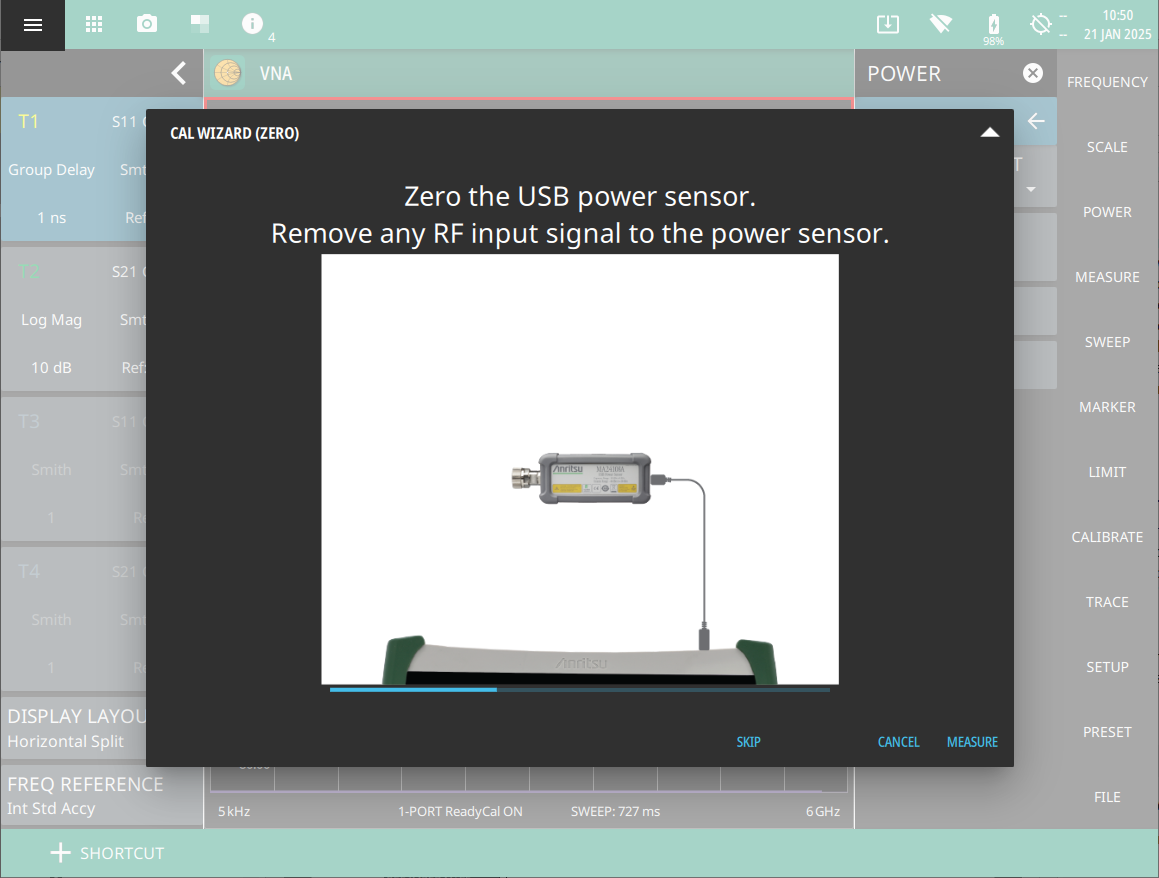
5. Select START CAL and follow the on-screen CAL WIZARD.
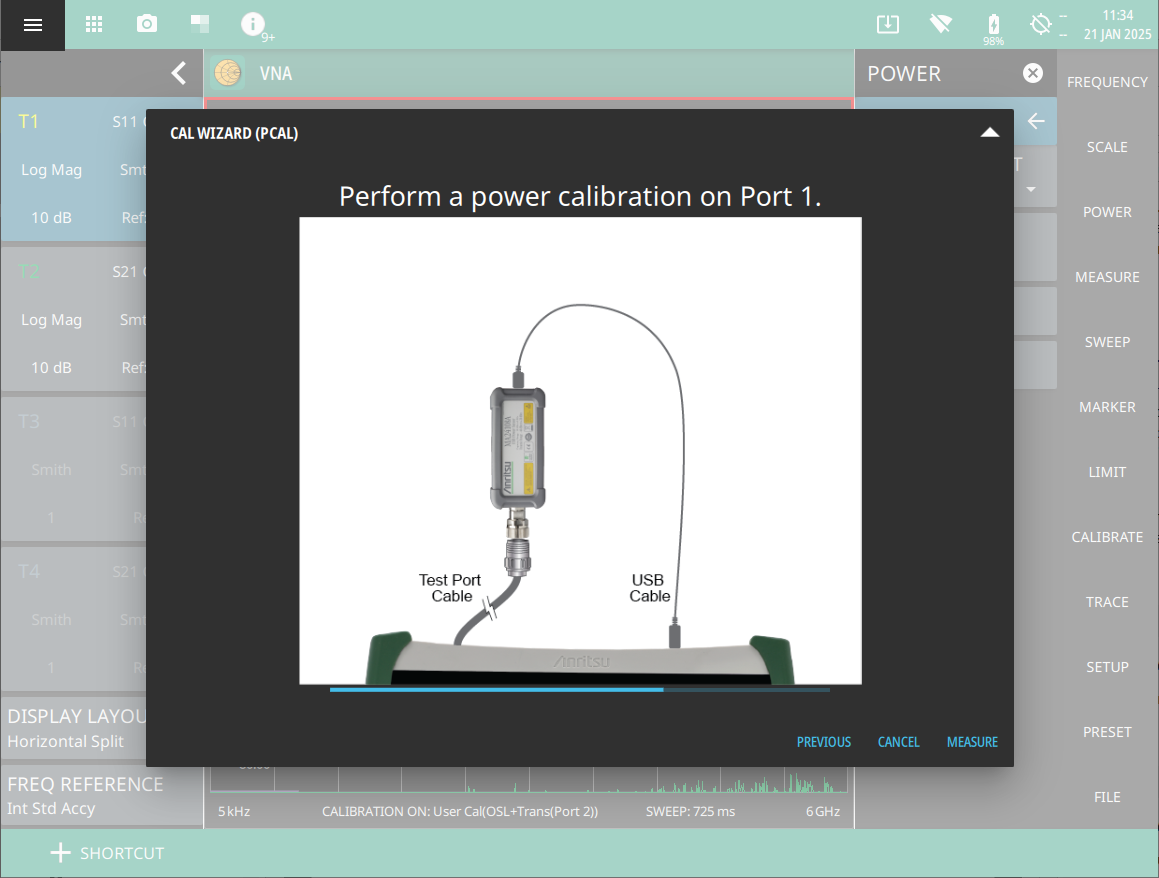
6. Select MEASURE at the end of each step to proceed to the next step in the sequence.
Power Calibration - ZERO
Power Calibration - PCAL
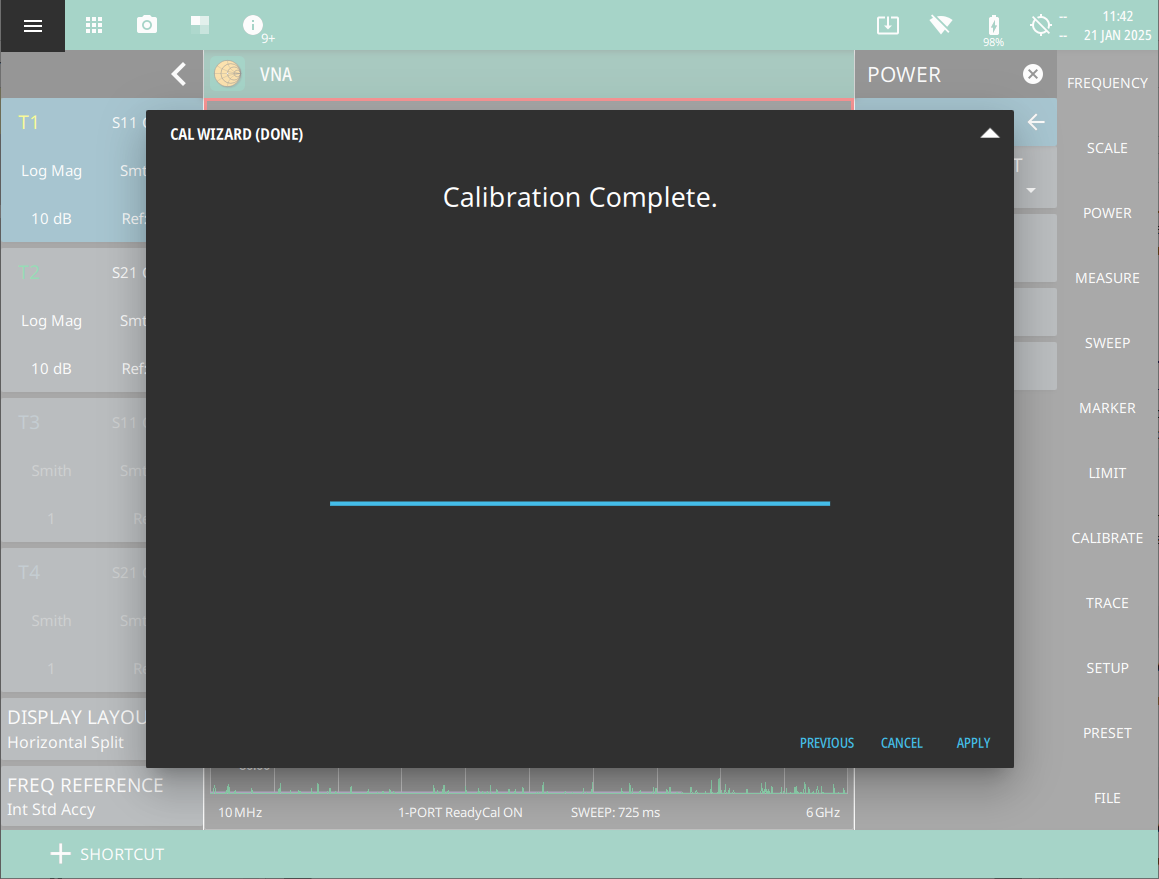
7. Select APPLY to apply the power calibration on Port 1.
Power Calibration - Done
RECEIVER CAL
To access receiver cal submenu go to main menu, POWER > RECEIVER CAL.
The concept of the receiver cal is to take a known source power at some source reference plane and transfer that knowledge to the receiver at a desired receiver reference plane. If it is convenient to use the test port as
the source reference place, the built-in factory ALC calibration can be used to establish the power knowledge. If
this is not convenient (because of frequency translation or some other network is required, or greater accuracy
is needed), then a power calibration can be performed with the help of a GPIB-controlled power meter or USB
power sensor to better establish that power knowledge.
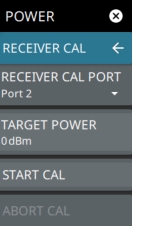
RECEIVER CAL Submenu
RECIEVER CAL PORT
Receiver cal port is Port 2 by default.
TARGET POWER
Sets the Port 2 target power in dBm.
START CAL:
Starts receiver calibration process.
ABORT CAL
Aborts the power calibration process.
RECEIVER Calibration
Follow the steps below to perform receiver thru calibration on Port 2:
1. Touch FREQUENCY on the main menu and adjust the start and stop frequency values if needed.
2. Select POWER > RECEIVER CAL submenu.
3. Select TARGET POWER to enter the target power to set Port 2 power.
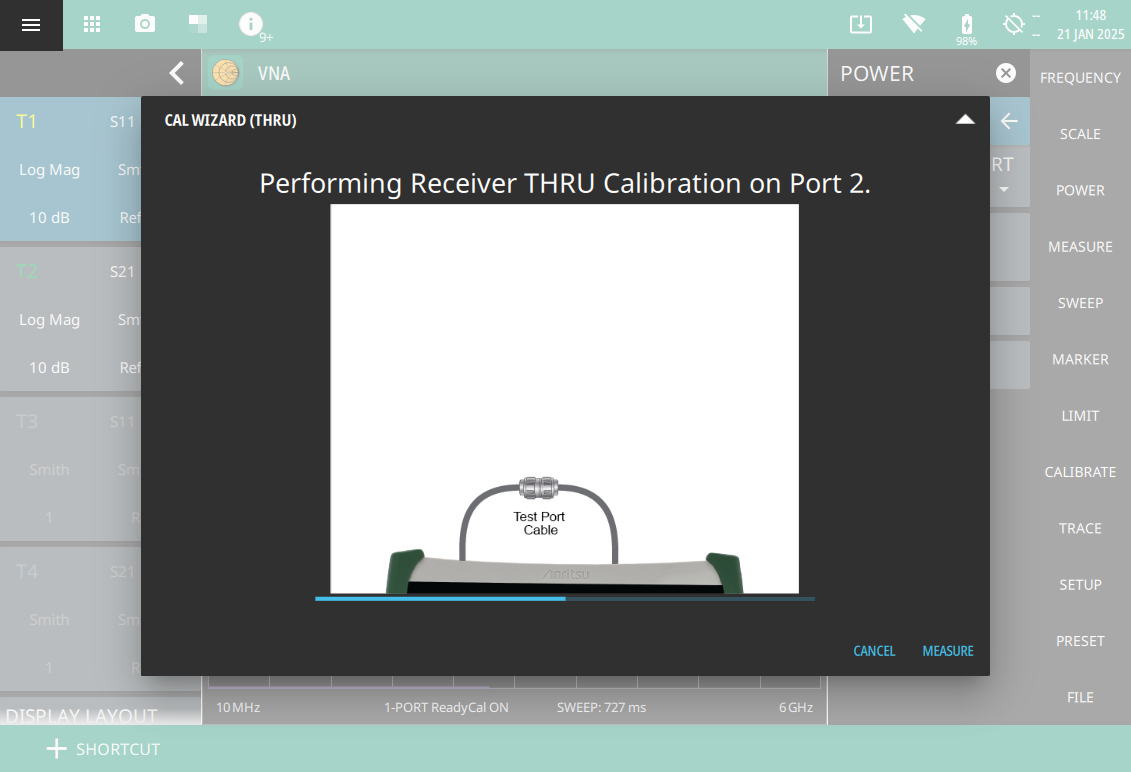
4. Select START CAL and follow the on-screen CAL WIZARD.
5. Select MEASURE to proceed to the next step in the sequence.
Receiver Calibration - Thru
6. Select APPLY to apply the thru calibration on Port 2.