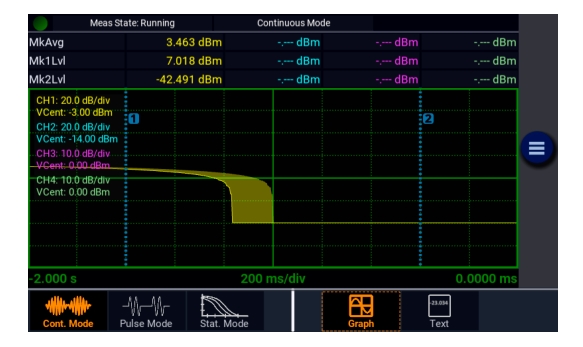
In the manual mode, the instrument is controlled from the front panel by selecting items from a system of displayed menus. To properly input commands and data using these menus, you should be familiar with the menu conventions described in the next section.
Control Menus
The menus that control the ML2439A USB Power Meter are accessed from the top-level MAIN menu. Display the MAIN menu by selecting the icon on the display. The MAIN menu structure for Pulse mode operations is illustrated in Figure: Pulse Menu.
Menus and parameters may be selected by using the front panel ◄, ►, ▲, ▼ keys to browse and using the l key to select the entry or by use of the touch screen.
The ML2439A base model only permits two sensors to be active at any one time. With the ML2439A-0004 Option, four sensors can be active at any one time. In the Menu Reference that follows the designation "Channel" is used to mean that all active channels have menus of this structure type except for different colorization.
Some menus have mode-dependent properties. Typically, one or more menu boxes in a submenu may change as the measurement mode is changed from Continuous to Pulse to Statistical. In the Menu Reference that follows these menus are indicated for mode dependency.
Menus with more selections than what fits on the display can be scrolled with the touch screen or front panel buttons.
Pulse Menu
Numerical Data Entry
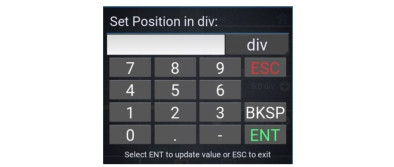
Numerical data can be incremented/decremented by selecting the “+” and “–“ icons with the front panel keys or by touching them. Selecting the numeric setting brings up an on-screen numeric keypad similar to the one shown in Figure: Data Entry Keypad.
Data Entry Keypad
Parameter Terminator List
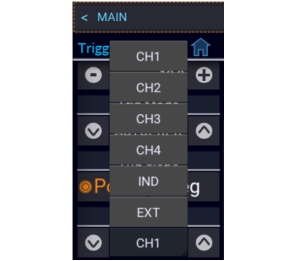
Some parameters use a menu or pick-list of settings to choose from. The Trigger source setting seen in Figure: Terminator List is an example of a pick-list. Use the front panel arrow up and down icons to cycle through the settings or select the value to display the pick-list.