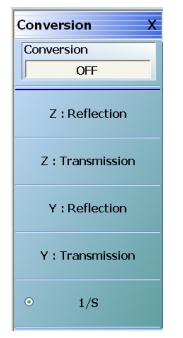
• MAIN | Display | DISPLAY | Conversion | CONVERSION
CONVERSION Menu
Conversion (Off/On)
Select toggles conversion OFF and ON.
CONVERSION Menu Reflection/Transmission Button Selection Group
The five (5) reflection, transmission, and 1/S buttons form a button selection group where the selection of any one button de-selects the other four buttons.
Z:Reflection
Selects the Z:Reflection impedance display conversion.
Z:Transmission
Selects the Z:Transmission impedance display conversion.
Y:Reflection
Selects the Y:Reflection admittance display conversion.
Y:Transmission
Selects the Y:Transmission admittance display conversion.
1/S (One Divided By S)
Selects an inverted 1/S (One/S) display conversion.
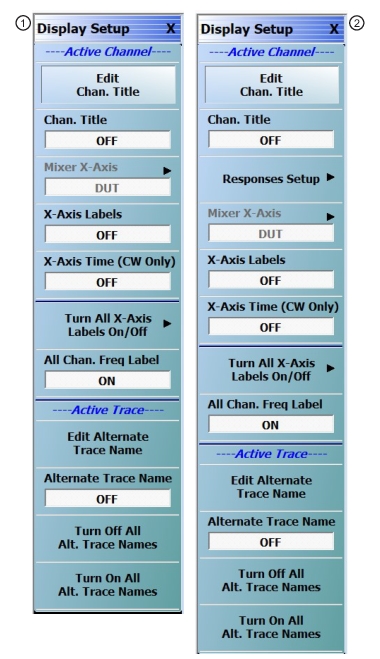
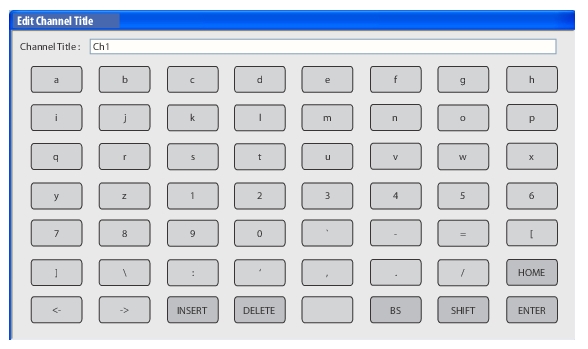
Channel Title toggle button. Select toggles the channel title created by the EDIT CHANNEL TITLE dialog box OFF and ON. If ON, the user-defined channel title appears at the top of the channel display.
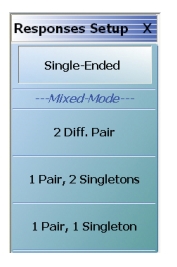
Responses Setup
This button is only available if the VNA is in 4-Port Mode.
If available, the button displays the RESPONSE SETUP menu where the user can perform a quick-set of the single-ended or mixed-mode response by choosing setting to:
• Single-ended
• 2 differential pairs
• 1 differential pair and 2 singletons
• 1 differential pair and 1 singleton
Select displays the RESPONSE SETUP – 4-Port VNAs menu.
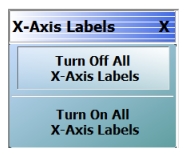
• Clicking on the “X-Axis Labels” toggle button will turn ON/ OFF the X-axis label display for the current active channel. See Figure: Trace Display with X-Axis Labels Turned On for and example display.
• X-Axis Labels and Frequency Blanking: When System | Utility | Frequency Blanking option is turned ON, tall X-Axis labels on the display are turned off, and X-Axis and Labels Turn All X-Axis Labels On/Off menu selections are disabled and grayed out.
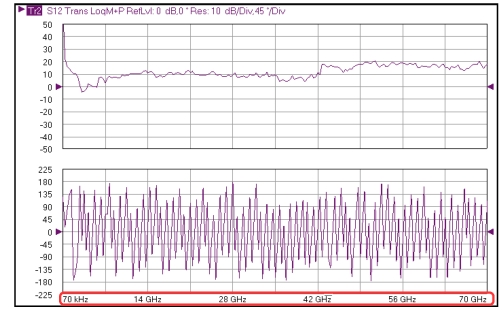
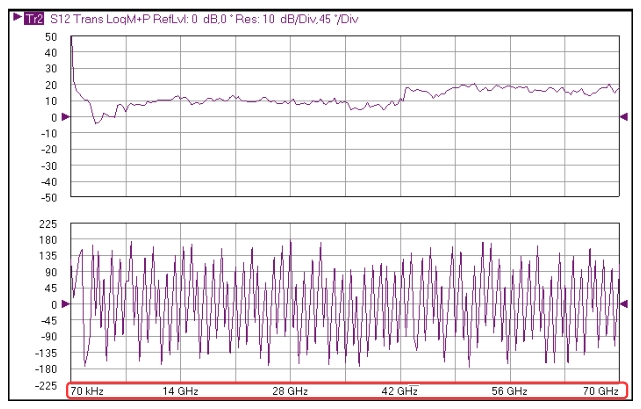
Trace Display with X-Axis Labels Turned On
X-Axis Time (CW Only)
Toggles the trace X-axis time labels ON or OFF. When the X-Axis Time (CW Only) button is ON and CW mode is set, the Bandwidth and Notch buttons are disabled in the ADVANCED SEARCH menu, and the X-axis will be in units of time. When data is saved in .txt, .csv, .tdf, or .tdu formats, time units will be shown instead of the CW frequency.
Turn All X-Axis Labels On/Off
• Clicking on the Turn All X-Axis Labels On/Off menu item displays the X-Axis Labels menu.
All Channel Frequency Label button. Select toggles the frequency labels for all channels OFF and ON. The frequency labels appear at the bottom of each channel display. When ON, the labels typically show starting and stopping frequencies and IFBW settings. When OFF, the frequency labels are removed.
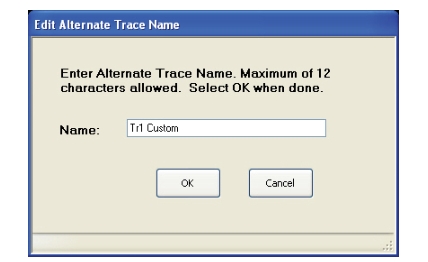
Edit Alternate Trace Name
Select displays the EDIT ALTERNATE TRACE NAME dialog box (shown below) for the active trace.
If the default Tr# label is replaced, up to 12 alphanumeric characters can be input to identify the trace. If the Tr# label is kept, up to 9 characters can be added for Traces 1 to 9, and up to 8 characters added for Traces 10 to 16. Alternate trace names can be duplicated or unique as required. The user defined trace name replaces the instrument default trace number abbreviation. For example, with Alternative Trace Name = OFF, Trace 1 is default labeled as:
• Tr1 S11 Refl LogM RefLvl: 0 dB Res: 10 dB/Div
With Alternate Trace Name = ON, and a user-input Alternate Trace Name set as “DUT SN 12345”, the Trace 1 label becomes:
• MAIN | Response | RESPONSE | More Single-Mode | SINGLE-MODE
2 Diff. Pair
Two Differential Pairs button. Select sets all traces on the 4-Port VNA to mixed-mode with two differential pairs. When the warning dialog appears, select OK to continue. This is the same mixed-mode as set by the MIXED-MODE dialog box.
• MAIN | Response | RESPONSE | Mixed-Mode | MIXED-MODE Dialog Box – Two Differential Pairs
1 Pair, 2 Singletons
Select sets all traces on the 4-Port VNA to mixed-mode with one differential pair and two singletons. When the warning dialog appears, select OK to continue. This is the same mixed-mode as set by the MIXED-MODE dialog box.
• MAIN | Response | RESPONSE | Mixed-Mode | MIXED-MODE Dialog Box – One Differential Pair and Two Singletons
1 Pair, 1 Singleton
Select sets all traces on the 4-Port VNA to mixed-mode with one differential pair and one singleton. When the warning dialog appears, select OK to continue. This is the same mixed-mode as set by the MIXED-MODE dialog box.