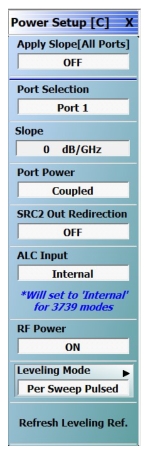
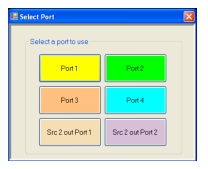
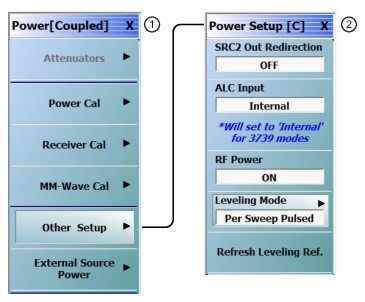
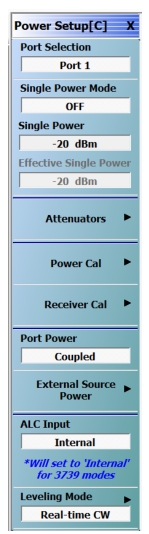
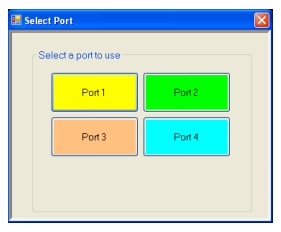
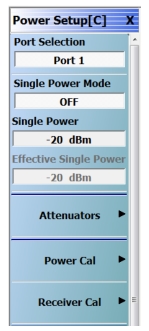
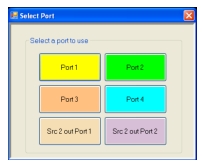
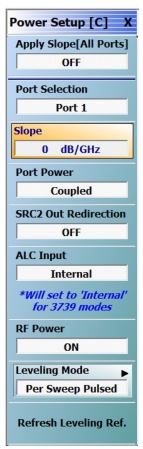
 | Menu Name Change If Port Power is set to Not Coupled, when Port 1 is selected, the menu name changes to POWER SETUP [1]. Similar menu name changes occur for the remaining Port selections. If Port Power is set to Coupled, the menu name changed to POWER SETUP [C] Port Selection (Port 1/Port 2/Port 3/Port 4) Select displays the SELECT PORT dialog box allowing touch screen selection of Port 1, Port 2, Port 3, or Port 4. Apply Slope [All Ports] Select toggles the Apply Slope value set below between off and on. Slope (dB/GHz) Select displays the Single Power field toolbar and allows the user to select the single power level in dBm.  Port Power (Coupled/Not Coupled) The Port Power button toggles whether the power adjustments to Ports 1, 2, 3, and 4 move together or are independent. If Not Coupled is selected: • The power level of the ports can be adjusted separately on the POWER and POWER SETUP menus. • The Port Selection button (described above) toggles between Port 1 through Port 4, also changing the POWER SETUP menu name between POWER SETUP [1], POWER SETUP [2], POWER SETUP [3], or POWER SETUP [4]. If Coupled is selected: • An adjustment to one port is also applied to the other port on the POWER and POWER SETUP menus. • The Port Selection button (described above) toggles between Port 1 and Port 2. • The POWER SETUP menu name changes to POWER SETUP [C]. • The POWER menu name changes to POWER [C]. • Coupling does not affect attenuator settings. |
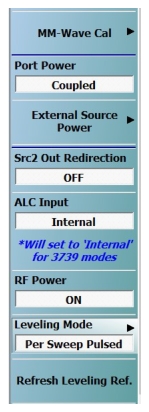
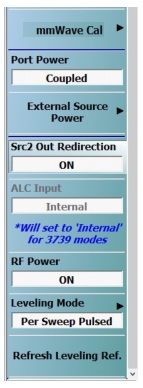
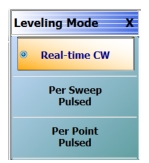
SRC2 Out Redirection Visible only if Option 32 is installed. Select toggles between ON or OFF to direct Source 2 power out of Port 1. ALC Input Visible only if Option 53 is installed (or 8x installed but instrument not operating in 3739 broadband mode). Select toggles the value between Internal and External leveling detector inputs. RF Power Select toggles the RF Power Off and On. In the Off state, the internal source(s) is(are) disabled, as might be useful when using the VNA solely as a receiver, and is similar to the 'Inactive' state discussed in the Multiple Source Control section. Leveling Mode (Application | PulseView) Visible only if the application is set to PulseView. Allows the user to more precisely control power based on the signal envelope. Displays the LEVELING MODE menu. Leveling Mode can be set in the LEVELING MODE menu, or in the PULSEVIEW CONFIGURATION dialog | Power tab. Refresh Leveling Ref. (Reference) (Application | PulseView) Visible only if the application is set to PulseView and if the Leveling Mode is set to Per Sweep Pulsed or Per Point Pulsed. Selection will refresh the pulsed leveling reference target values. This action is recommended after recalling a pulsed leveling setup with a user power calibration or a pulsed user power calibration file, particularly if the proper measurement hardware connections were not in place at time of recall. |